GRP Flat-Table Boatbuilding 5
Mould Table
The first requirement of the flat-table technique is a Table. It must have a very smooth, glossy, top. This surface can be called the mould table, for all the panels that make up the hull of the boat will obtain their smooth outer surface from it.
I have seen tables with sheet glass tops, but probably the best surface available to the amateur would be some kind of sheet plastic as may have been used on kitchen worktops, or currently used in shower/wet rooms. The cost of such sheets may be quite high, but possibly worth the investment? The cheapest smooth surface will be that of white, melamine-faced chipboard sold in most DIY stores for making shelving etc. I used this board and it is perfectly adequate for making panels.
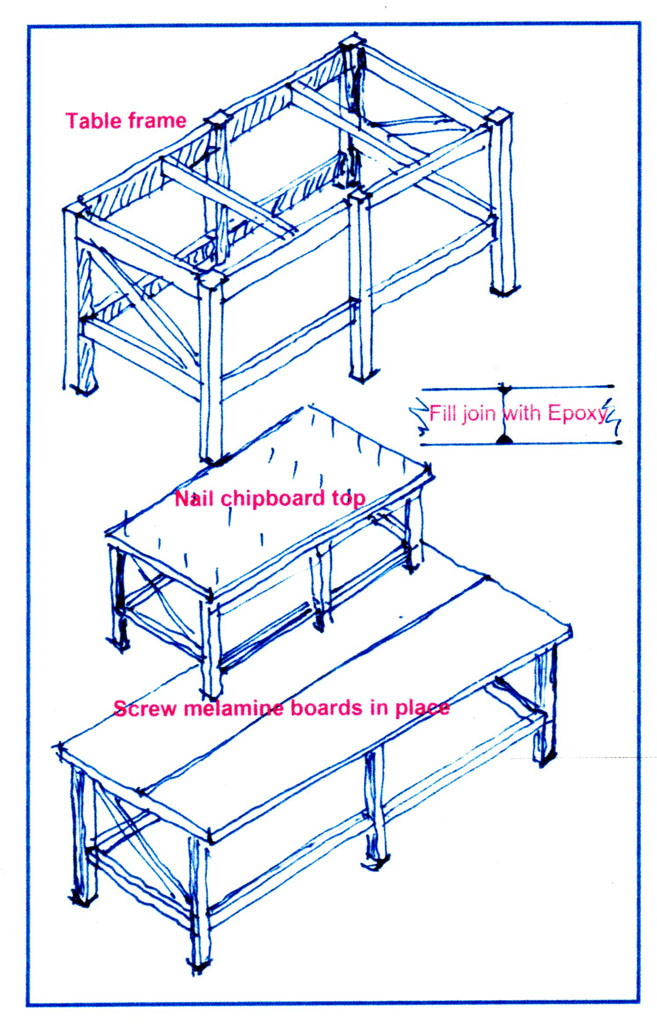 To arrange for the plastic surface to be at the correct working height it has to be supported on a table approximately 30ins (750mm ) high. The underframe may be constructed of any suitable timber, but 50 x 50mm (2 x 2ins) is probably about the minimum section. There should be diagonal bracing to make it as rigid as possible. This can be topped with a single sheet of raw 21mm chipboard/particle board nailed down. The melamine-faced board can then be attached by screwing from underneath. The screws MUST NOT distort or damage the upper surface. If 8 X 4 sheets are not available, then two 8 x 2 sheets can be used.
The sheets have slightly radiused corners and where they meet this imperfection must be filled by using an epoxy adhesive (eg Araldite) being careful not to smear it onto the melamine surface. The purpose of this adhesive is also to seal the gap to stop any air bleeding in during the vacuum bagging process. The imperfection formed in the surface of any panel by the presence of the join is not serious. It usually shows as a thin raised line and can easily be cut back when required.
Having more than one table is good if building a whole craft, both of them with their tops slightly projecting all around. They can be solidly fixed together and used end to end, or side by side, depending on the panel shapes to be made on them. If a table is much wider than 1220 (4ft) there may be problems in reaching the middle to work on it. It is, of course, possible to make a table of any length, but working the panels will require a crew of workers, so careful consideration must be given to the overall project. I will generally refer to an 8 x 4 table.
Picture left. The mould table is on the right with lid over.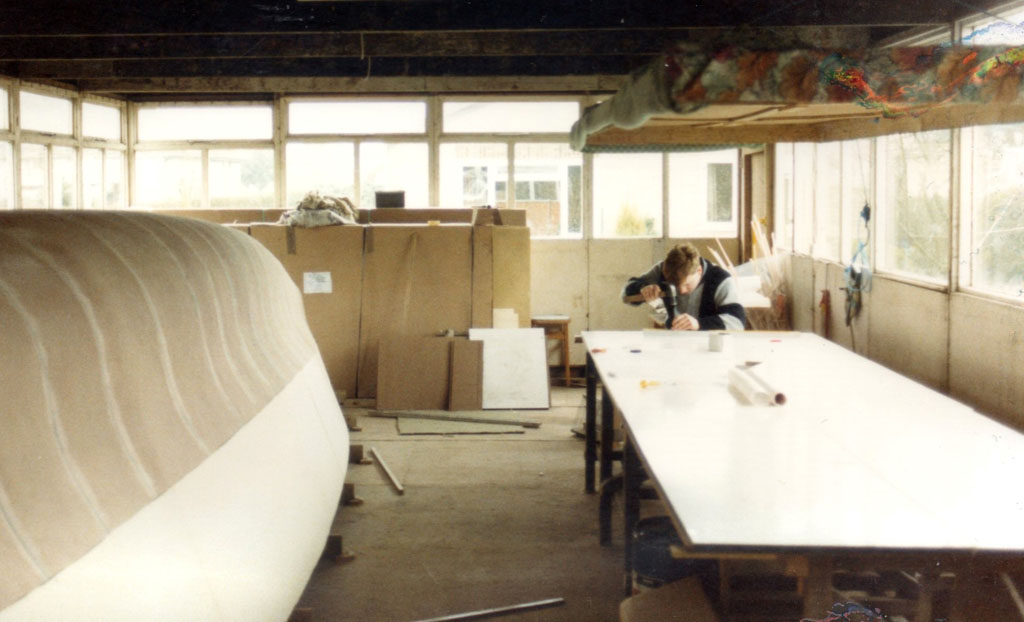
The Lid Pictures here from Paul Brown
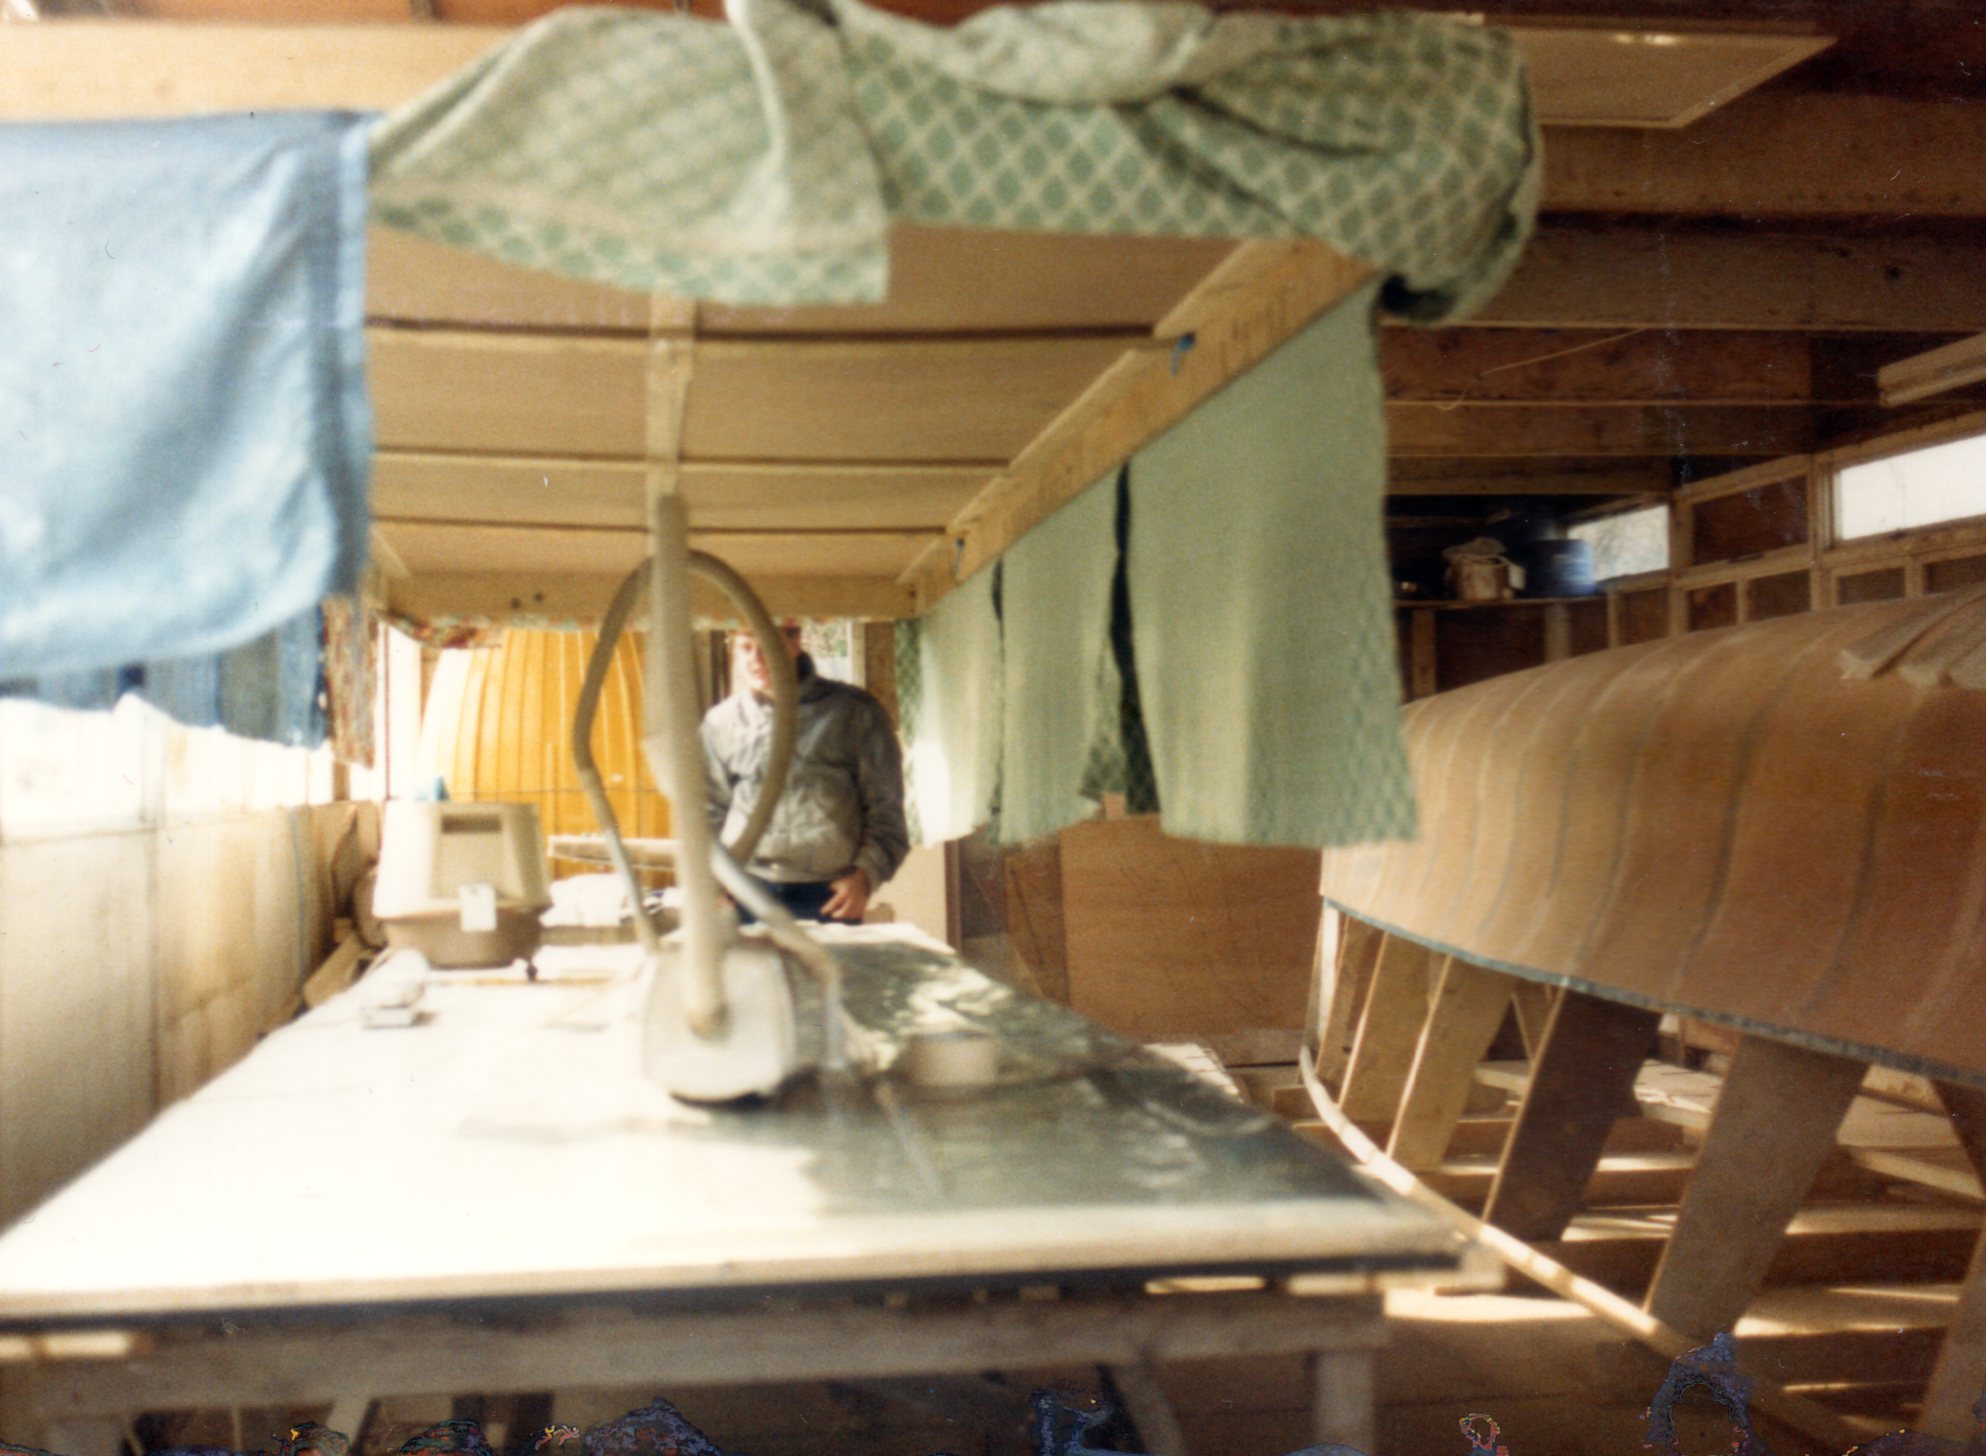 This is very important. Polyester resin requires warmth to help it set when working. If it is too cold to set this will be a major problem. The plastic-topped table is always be very cold. Part of the working process is to check it by hand for smoothness and it will soon be appreciated just how cold it can be. I have seen tables using heating lamps from below and some careful thought must be given as to how gentle, safe heat can be applied to the table. Having a lid that can be lifted and lowered to keep the heat close to the table surface is an essential tool. Maybe the lid is hinged? Maybe it is counterbalanced? It needs to be insulated if it is to Above. The lid has suspended cloths around edges hold the heat. My lid was larger than the table and it had a skirt all around the edge made from old curtain material. Heat blown in from outside the skirt would rise around the table and fill the gap between it and the lid.
 When the table is not in use it is protected by the lid and when gel coat is drying it stops dust contamination. The lid must not contact the wet resin. It is quite large, but it must be lightweight enough to handle easily. A battened sheet of hardboard/MDF or thin ply may suffice. The edges of the table are rarely used, so loose blocks of 50 x 50mm could be positions to support its edges or between panels when several are being made at the same time.
SAFETY is of prime importance. A SMALL fan heater, one per table, positioned outside the table perimeter blowing warm air in works best, providing it is not positioned close to resin or foam which are flammable. Never apply more than 1Kw, thermostatically controlled if possible. The heater(s) must never be left unattended. It is a good idea to maintain a good working temperature in the work area to keep the table reasonably warm, because having it at the right temperature is the best way to ensure correct behaviour of the Lid suspension resin. Application of excessive heat will curl the gel coat off the table and foam could be softened by using more than 1Kw. When the boat is finally launched it will need fire extinguisher(s) and fireproof blankets. Purchase these items early and have them available in the building area.
Preparing the top
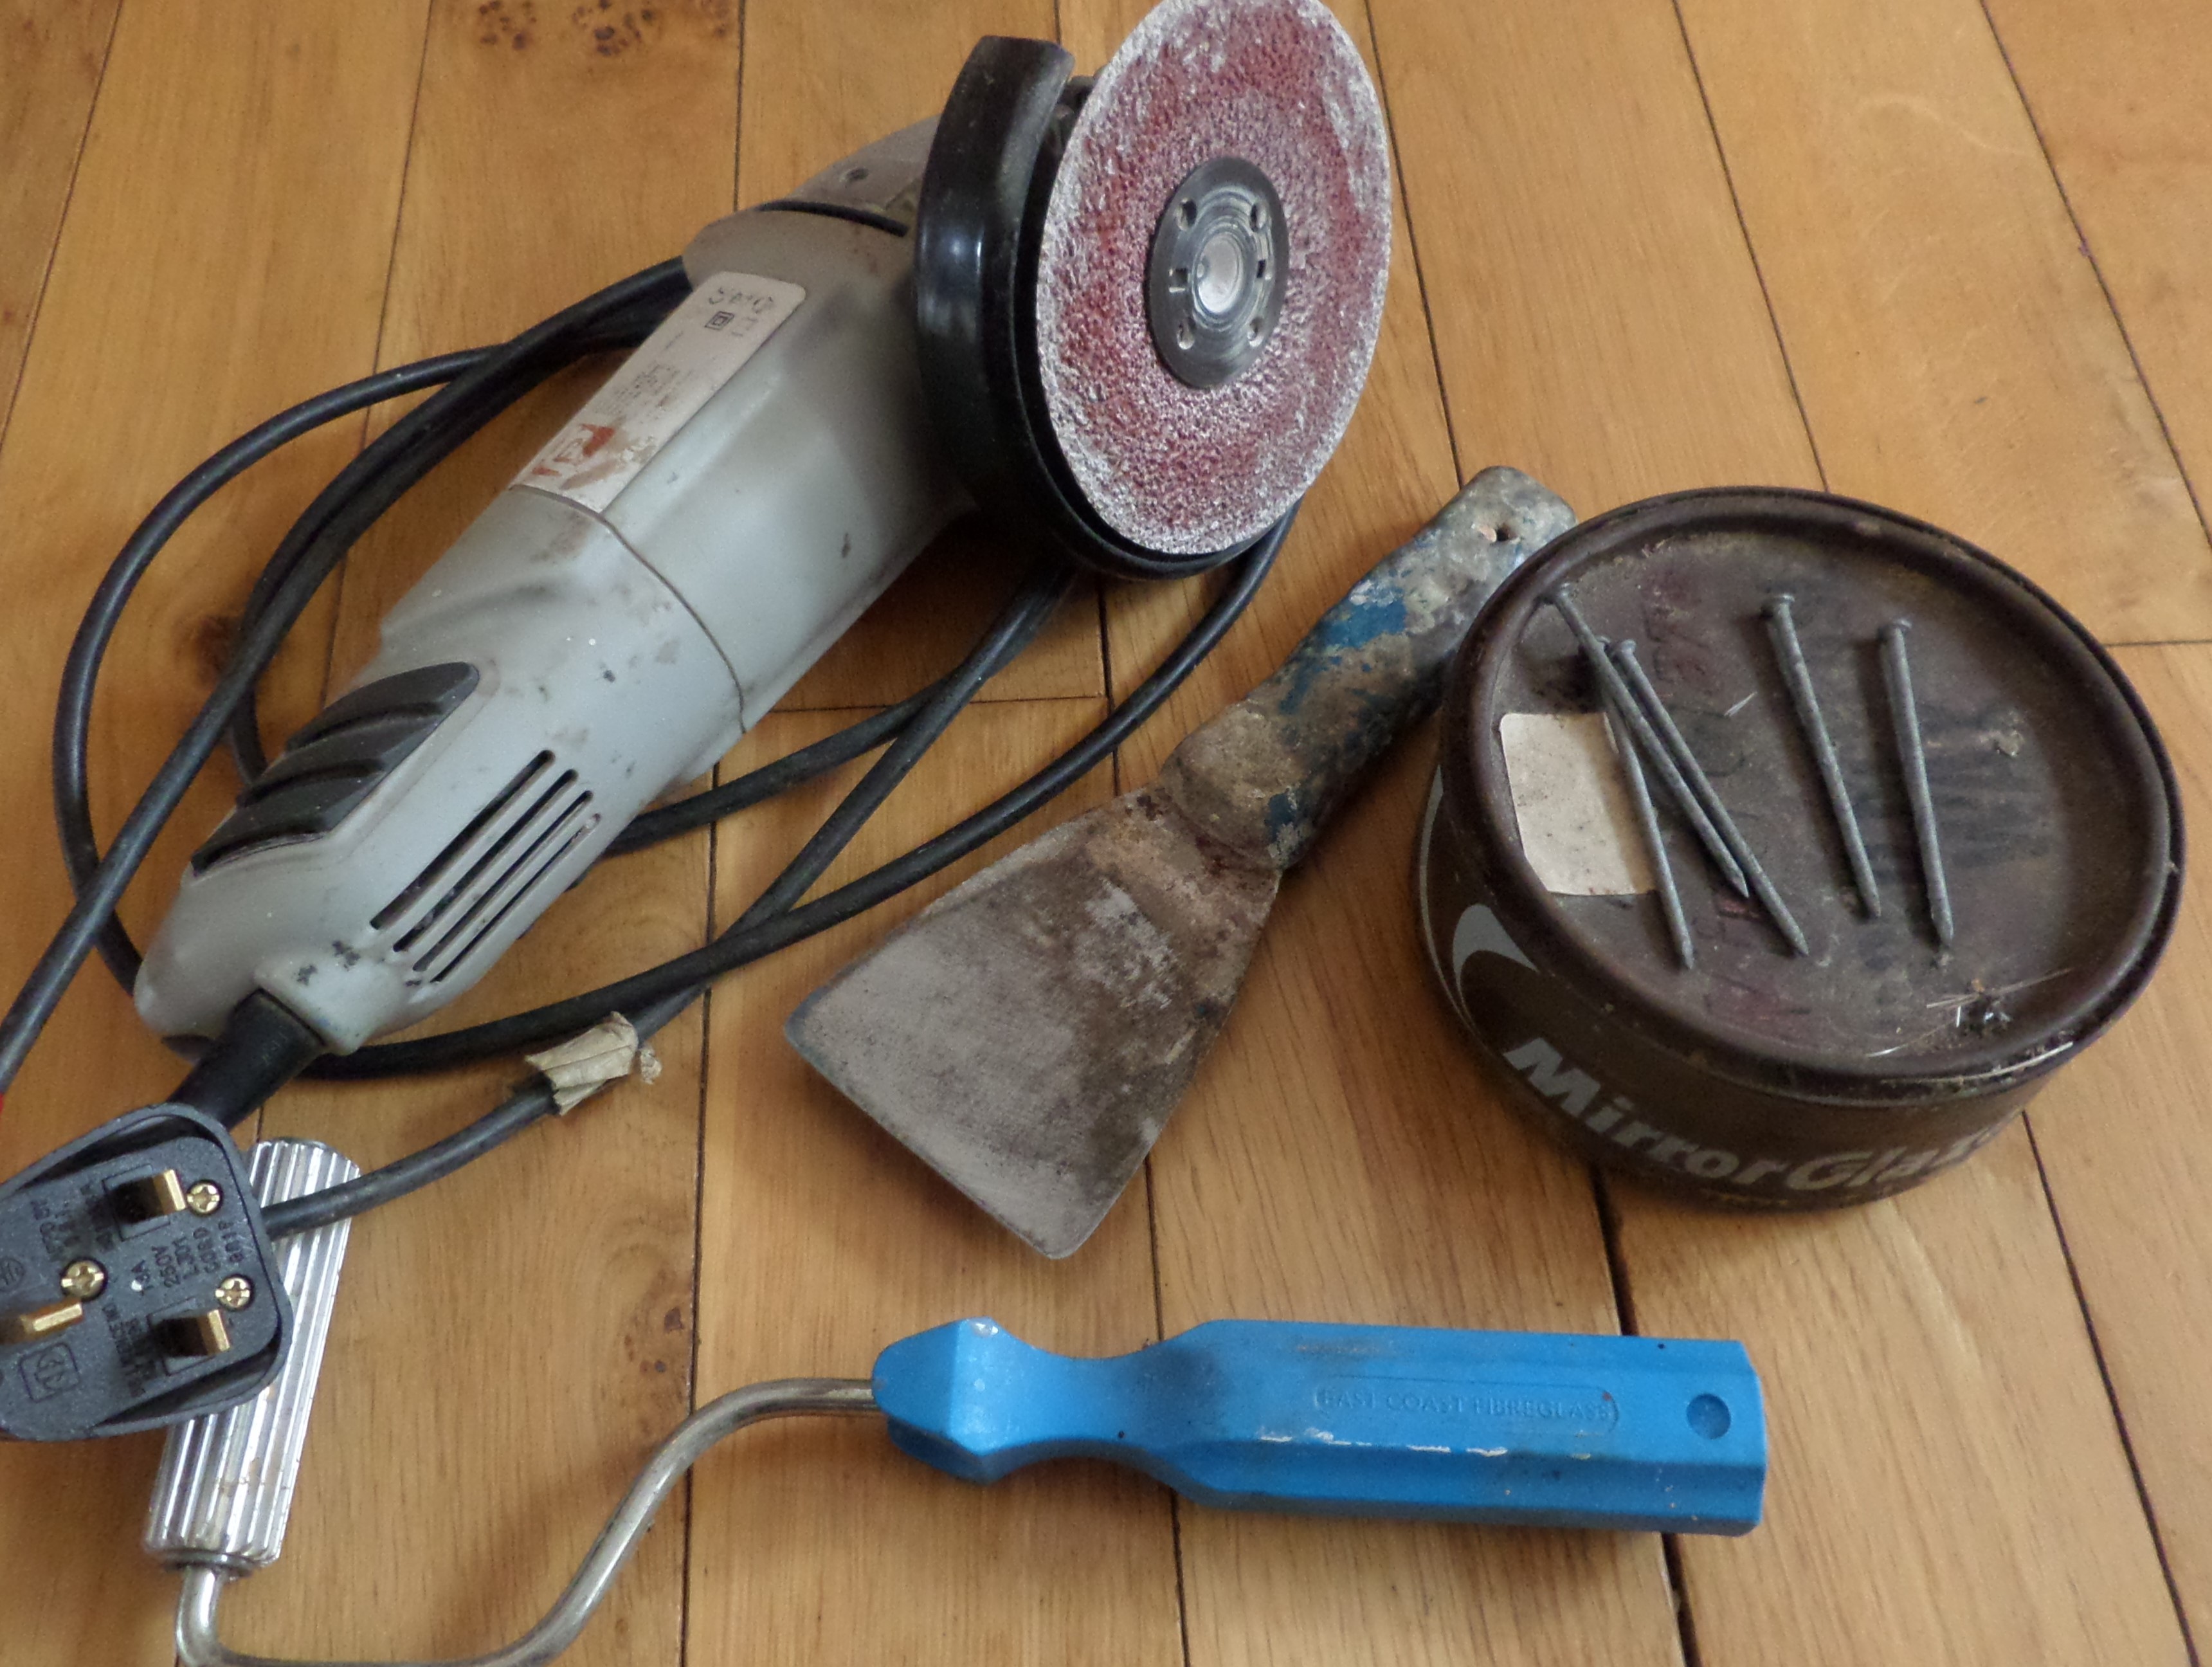
The products needed for polishing the table can be purchased from wherever the other fibreglass products are being sourced. The natural melamine finish is fairly matt and whilst it can produce panels it is better to improve the surface before laying-up on it. Below. Scraper, Wax, Nails, Roller for glass compaction.
Polishing Grinderette essential for shaping and smoothing
 Hardglaze (or similar)
The first product is a buffing agent which is painted onto the melamine and then polished up. Electric polishers are simple to source, or putting woollen polishing bonnets onto hand drills can work. All the instructions will be on the tin and only a small quantity is needed.
Release Wax
The table has to be polished over the hardglaze product with release wax or an equivalent product and this is simply a question of ‘elbow grease’. The harder and more frequently the table is polished the higher the quality of finish produced. Experience will show that at least one layer of release wax is essential between mouldings. A good stock of soft cloths is very useful.
Cleaning the table
After a panel has been made and released from the table, the table will have to be cleaned. The area covered by the panel will be smooth, but the area outside it will be covered in fine ‘splatter’ – tiny blobs of resin lifted and scattered by the laying-up action of brush and roller. In addition, there may be odd strands of glassfibre and possibly some slightly tacky resin just around the perimeter of the panel.
To clean the table, it is best to only use a broad (wallpaper) 100mm scraper. Do not use solvents of any kind as they may react with the release wax or with the next layer of gel coat. ‘Air dry’ the table or use some gentle heat, if needed, to encourage resin setting. Have some coarse abrasive paper to wipe the scraped blade clean and ensure that its edges and corners remain smoothly rounded. Abrasives must never be used on the table 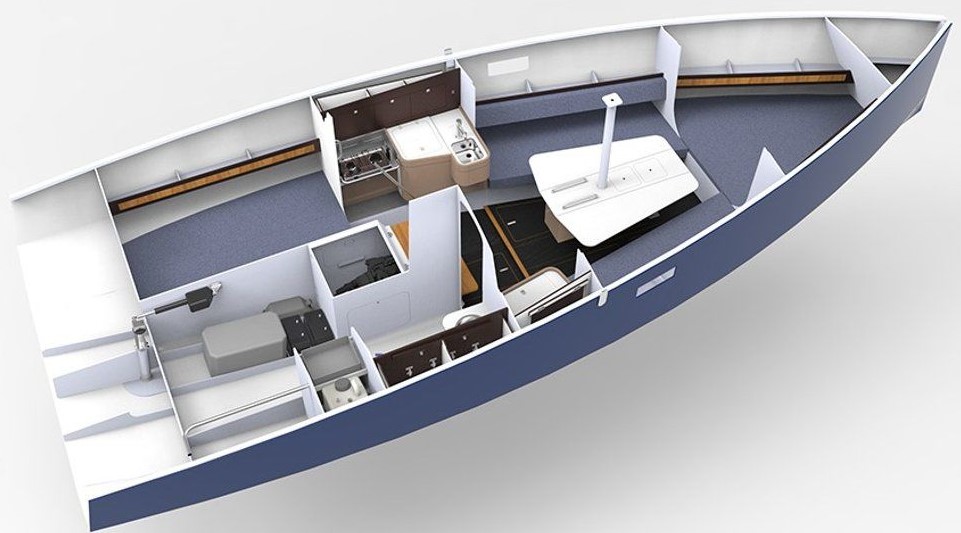 and it must not be scratched by the scraper. Clean the whole table each time before applying the wax, even though some parts may not have been used. The ONLY way to check the surface is clean and smooth is to test it by rubbing a hand over it, to find out if the odd isolated spot of resin still remains. Note how cold the surface is. When fully clean, the table is waxed prior to the application of the next panel.
Left. Interior RM Yachts. Look at the number of flat panels needed in the interior of ANY yacht